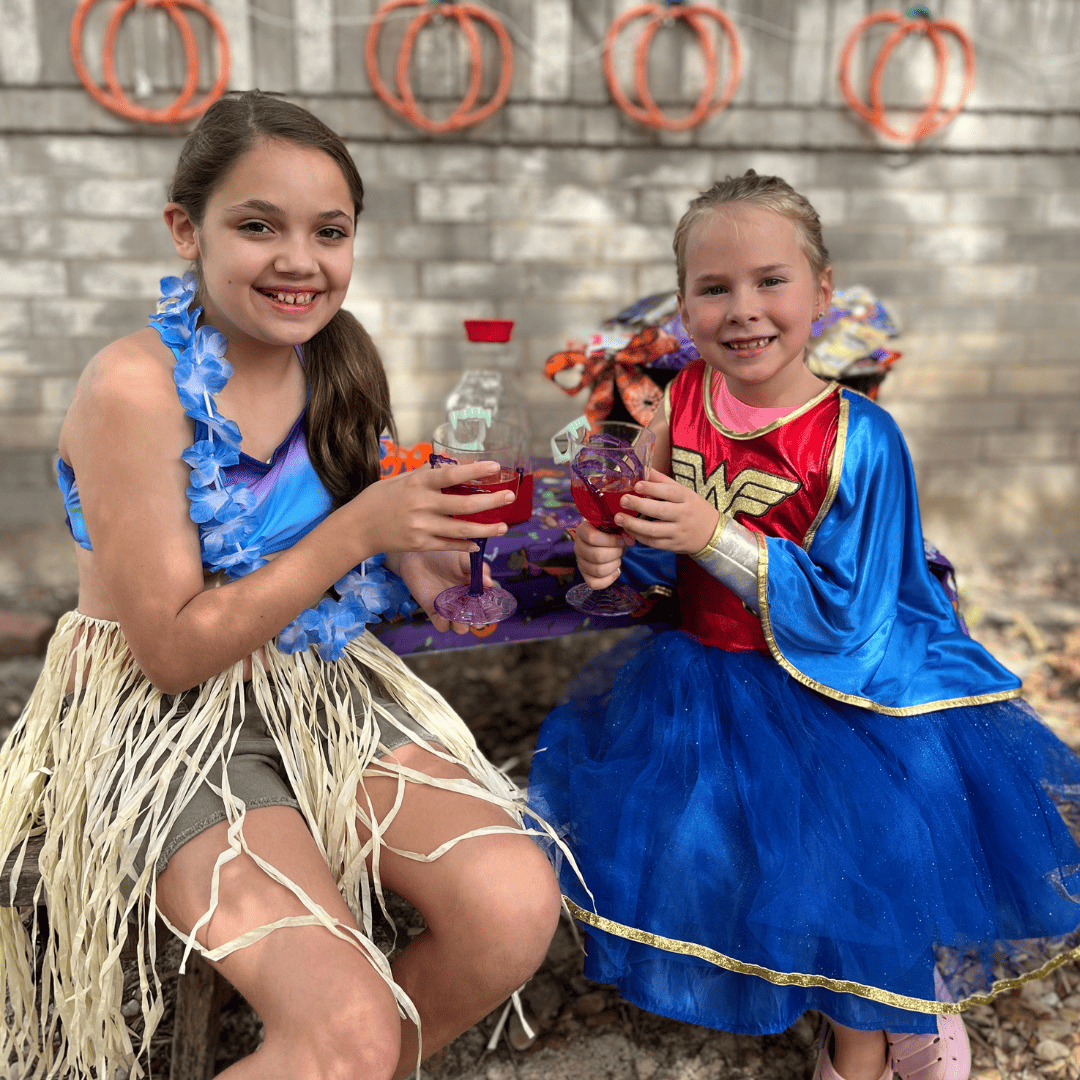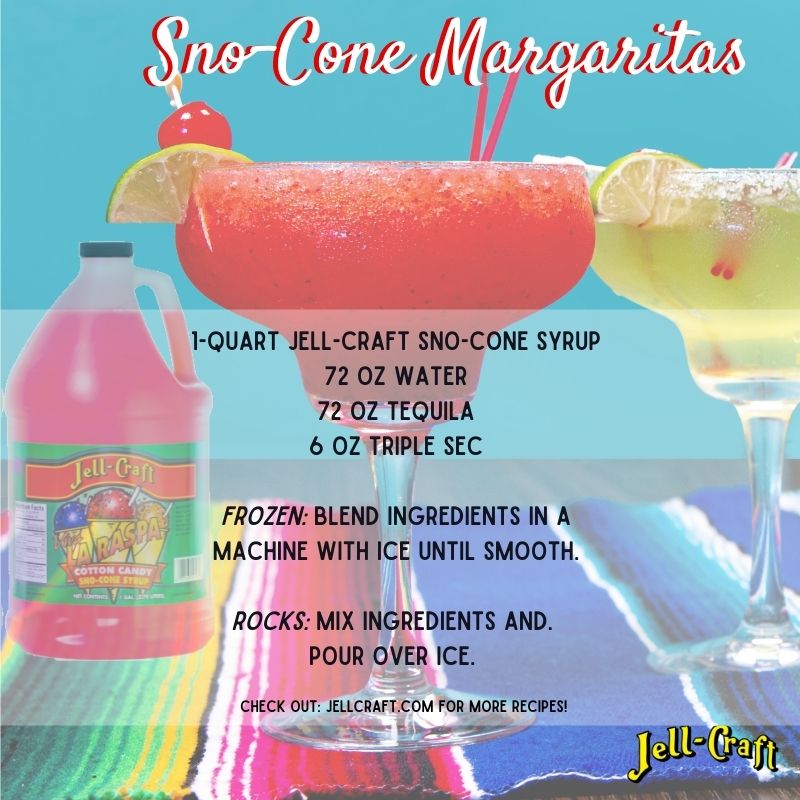
Delicious Margarita Recipes to Try on National Margarita Day!
Category : All About Snow Cones
Here is a creative menu of delicious margarita recipes to try on this National Margarita Day! Whether you like your margaritas with or without tequila, flavored, or in a baked good, we have three fun recipes for you to try!
Three Delicious Margarita Recipes:
1. Cucumber Lime Sparkler
Ingredients:
- 1 Shaker Cup
- 1/2 Cup Diced Cucumber
- 16-24 Mint Leaves
- 1 Lime (Juice from the lime)
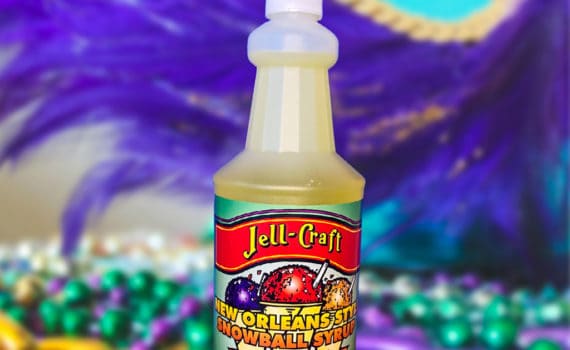
- 4 TBSP of Jell-Craft Lemon-Lime Margarita Concentrate
- 6 oz of Vodka
- 3 oz of Prosecco in each glass
Instructions:
Here’s a video to watch step-by-step instructions:
- Muddle the diced cucumber, mint leaves, and lime juice together
- Once muddled, add the Jell-Craft Lemon-Lime Margarita Concentrate and the Vodka.
- Shake vigorously until the outside of the shaker is frosty.
- Put ice into four glasses and strain the drink over the ice
- Top each drink with 3 oz of Prosecco (or to your liking)
- Garnish the drinks with extra cucumber, lime, or mint sprig!
- Serve and Enjoy!
2. Margarita Pie
Ingredients:
- 1-14oz can of Sweetened Condensed Milk
- 2 Eggs
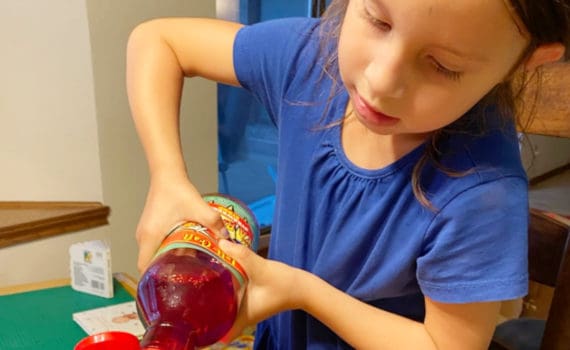
- 1/4 Cup of Jell-Craft Margarita Concentrate
- 1/3 Cup of Vanilla Yogurt
- Juice from 2 Limes
- 1 large Graham Cracker Crust, or 12 mini pies
- Whipped Cream – Optional
- Sea Salt – Optional
Instructions:
Here’s a video with instructions!
- Preheat the over to 350
- Mix the milk, eggs, margarita concentrate, yogurt, and lime juice until fully combined.
- Pour mixture into pie crust. Bake mini pies for 15 minutes, full size for 25 minutes, or until custard is set. There will be a slight juggle when it’s done.
- Sprinkle with sea salt before serving, and top with whipped cream it you would like!
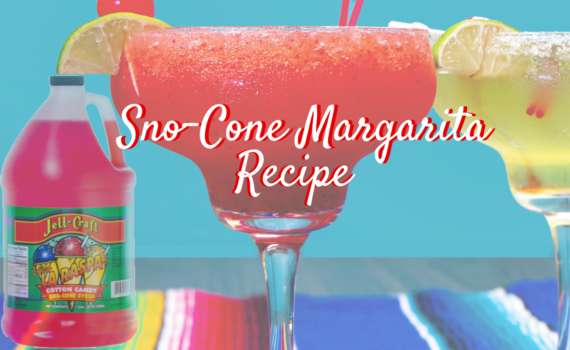
3. Yoda Margarita Recipe
Ingredients:
- 5 oz of Jell-Craft Lemon-Lime Margarita Concentrate
- 6 oz of Tequila
- 28 oz of Triple Sec
- Ice – up to the 48 oz mark on the pitcher
- 8 Blueberries for the eyes
- 4 Toothpicks for the blueberries
- 8 Lime wedges for the ears
- 4 Brown clothes for the cape to go around the bottom of the 4 glasses
- 4 Toothpick Swords for the Lightsaber
Instructions:
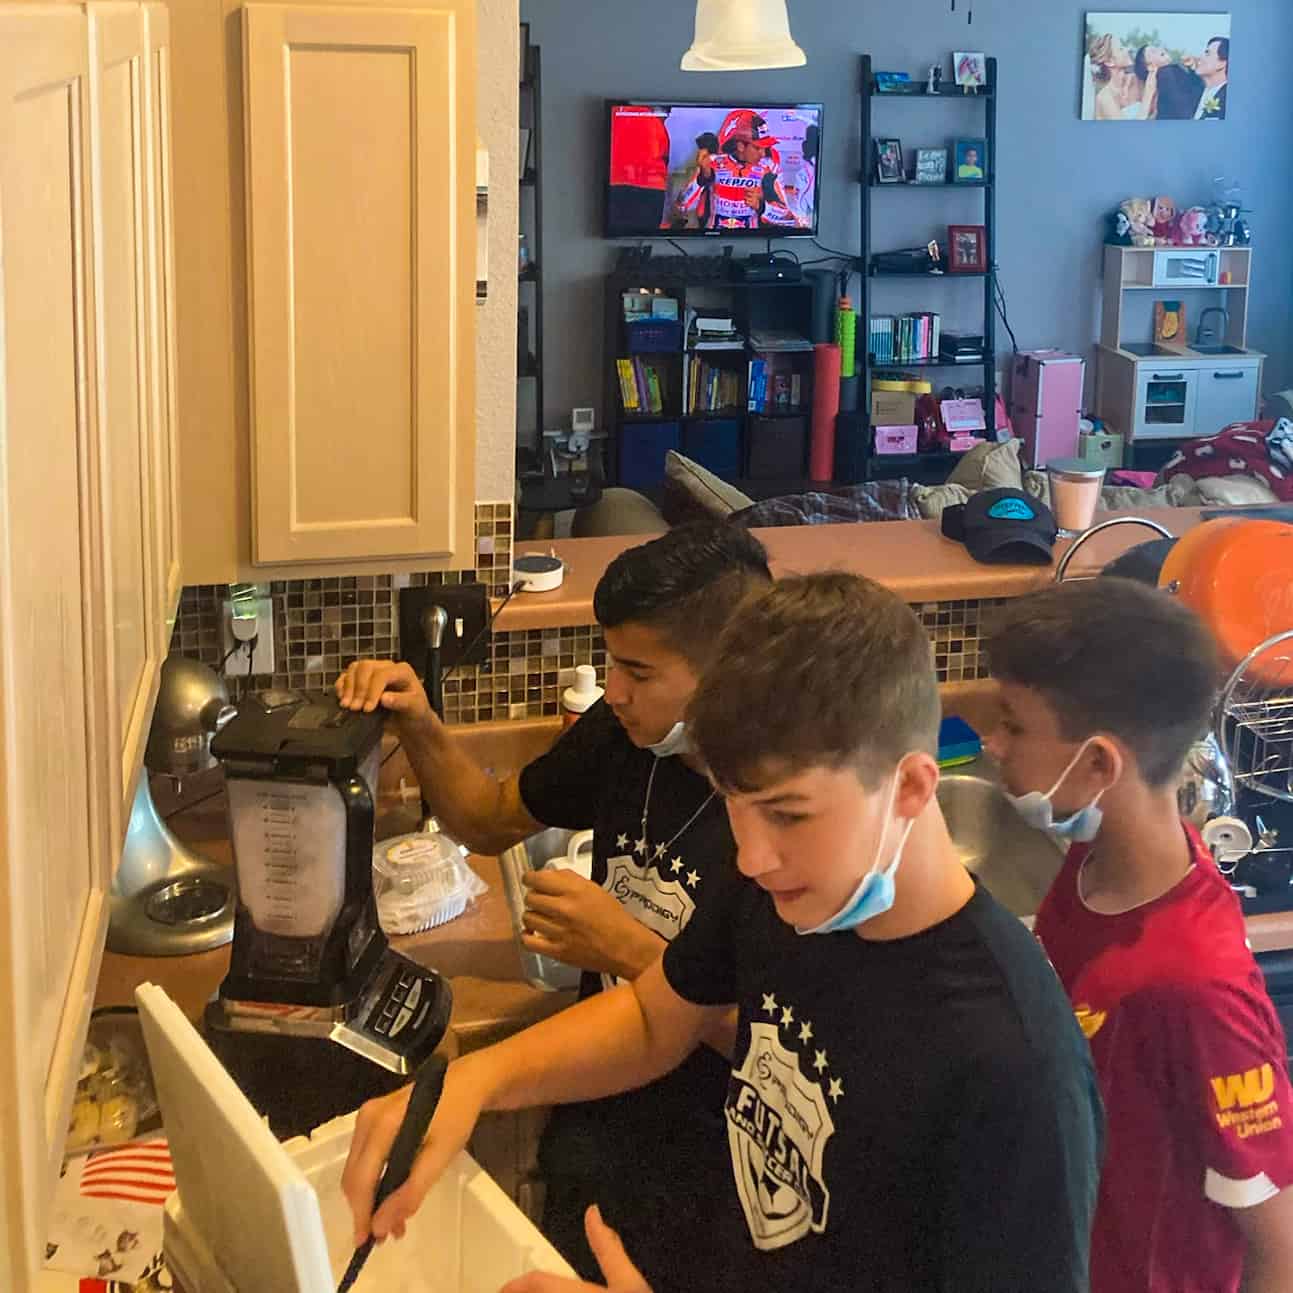
- Pour Margarita Concentrate, Tequila, and Triple Sec in a blender and add Ice until you reach the 48 oz mark in the blender.
- Blend the Margarita Concentrate, Tequila, Triple Sec, and Ice well.
- Pour the frozen margarita into 4 glasses, and stick one lime wedge on each side of the glasses for Yoda’s ears.
- Add blueberries spaced out on the 4 toothpicks for Yoda’s eyes.
- Add a brown cloth around each glass for his cape, and add the toothpick sword for his lightsaber!
*Check out Pinterest for all the different ways you can dress up your Yoda Margarita!
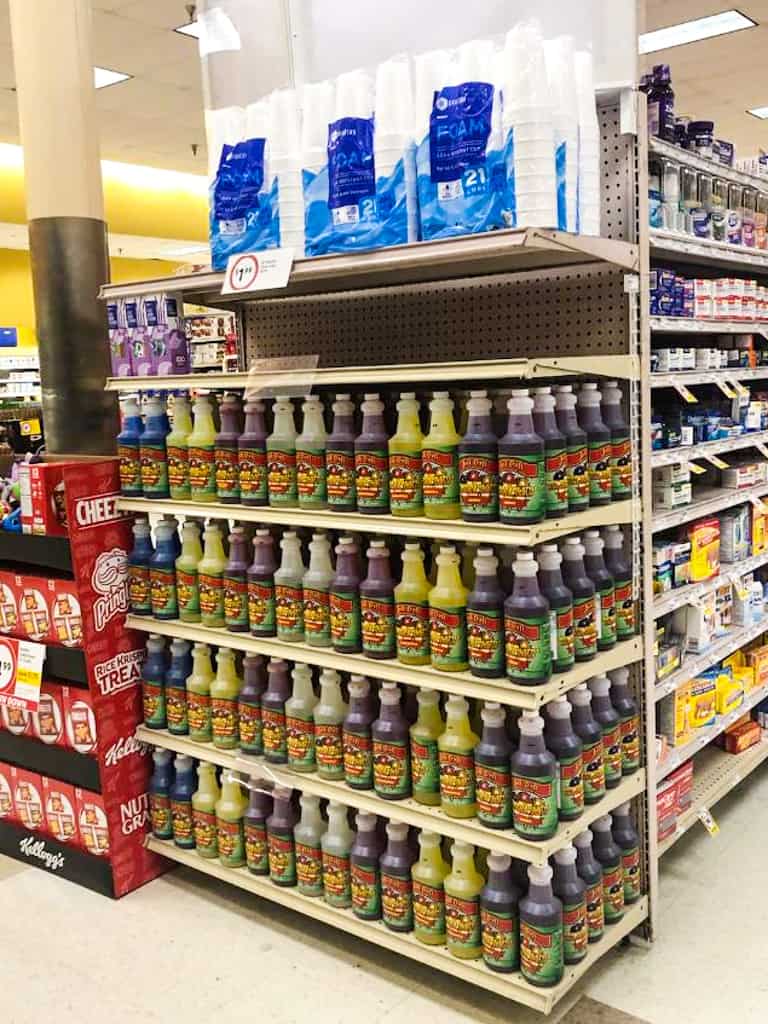
**If you need to grab Jell-Craft Lemon-Lime Margarita Concentrate, go here!